Quick Start
About this guide
Goal: Install Nocalhost, evaluate the core features and experience efficient cloud-native application development.
Estimate time: 5 minutes
Requirements:
- Any local or remote Kubernetes cluster (minikube, Docker Desktop, TKE, GKE, EKS, AKS, Rancher, ...). Allocate at least 4 GB of memory for single-node clusters like Docker Desktop and minikube.
- RBAC must be enabled in the above cluster
- Socat should installed in the nodes for cluster (Nocalhost file synchronization depends on port-forward)
- Configured KubeConfig file that has namespace admin privilege
- Kubernetes api-server can be accessed internal and external
- Visual Studio Code (1.52+)
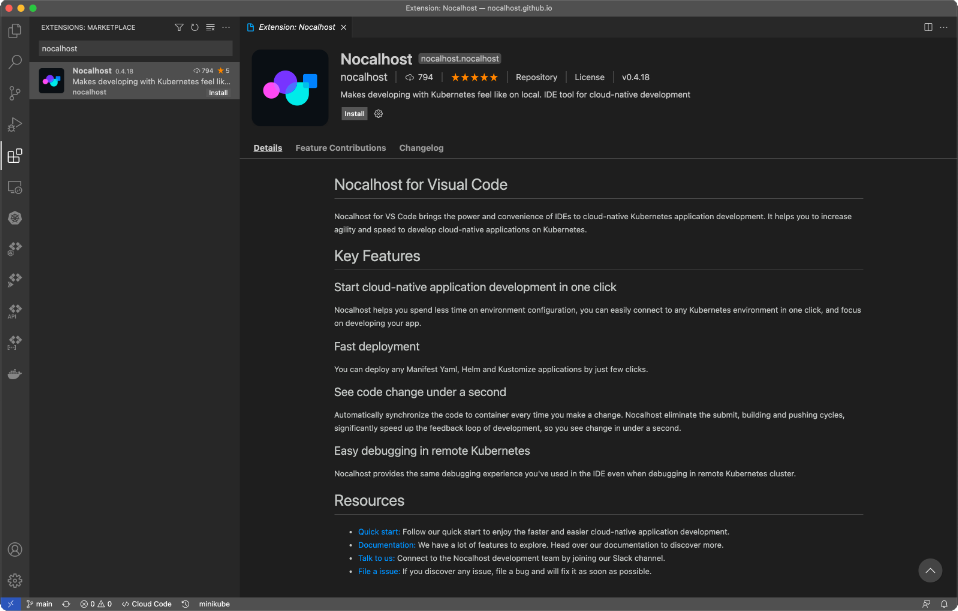
1. Install Nocalhost VS Code Extension#
- Open VS Code and go to
Extensionsby click the icon
icon - Input
Nocalhostin the search box - Select the
Nocalhost Extension, and click the Install button.
JetBrains Plugin
Nocalhost does fully supports JetBrains, please refer to Install JetBrains Plugin.
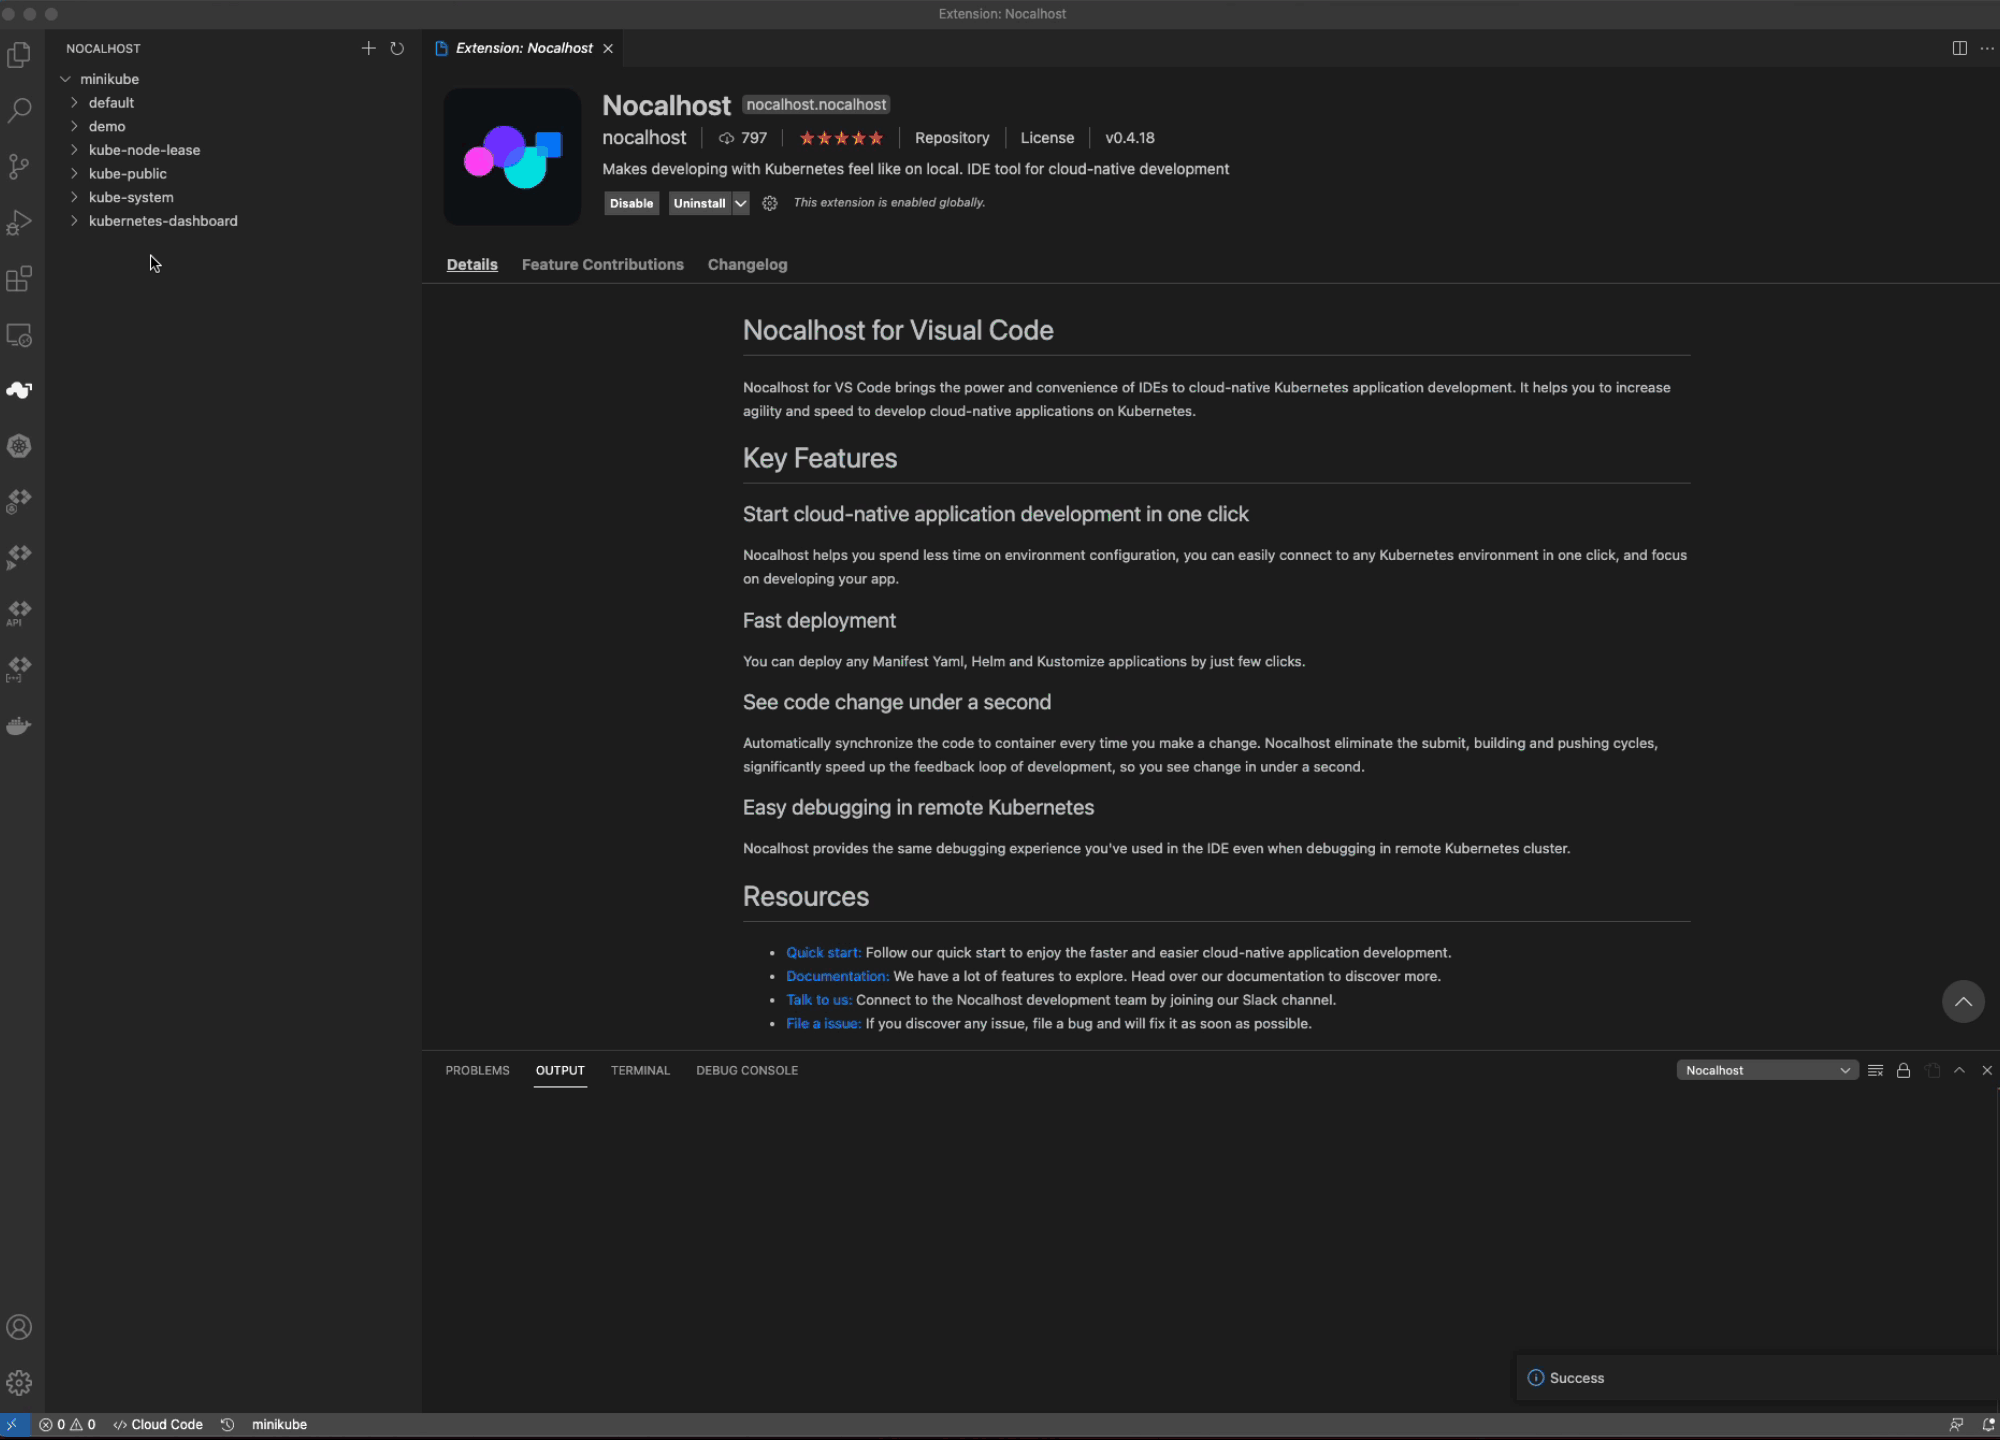
2. Connect to Kubernetes Cluster#
Click on the Nocalhost icon ![]() on the side panel, open the Nocalhost plugin.
on the side panel, open the Nocalhost plugin.
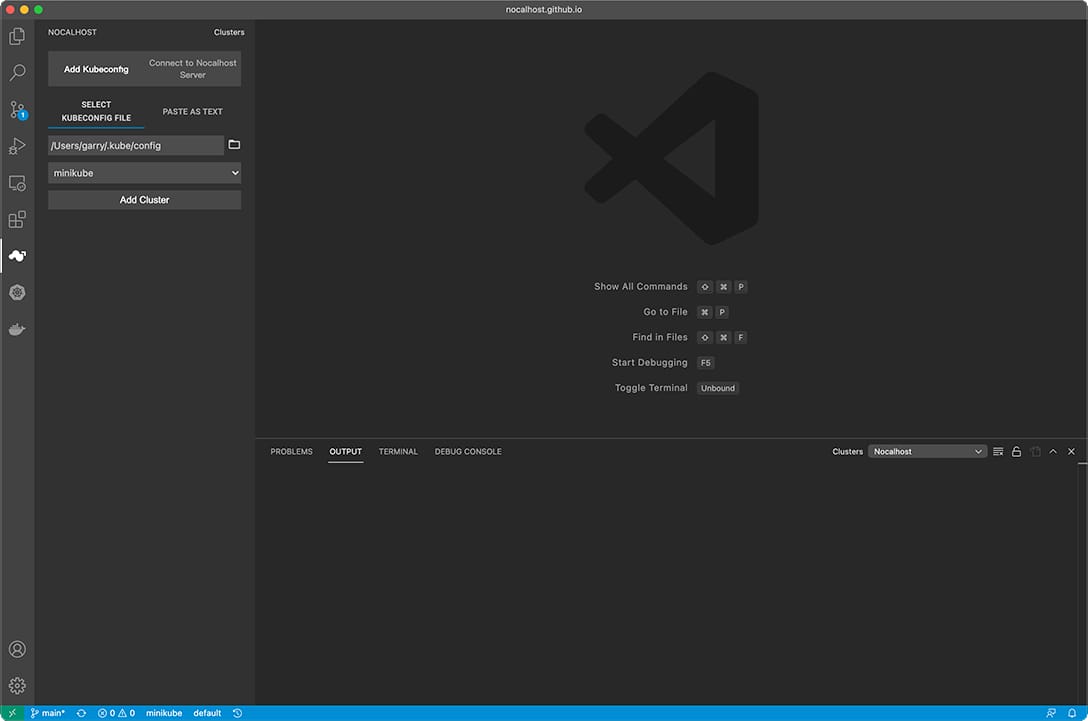
There are two methods that you can use to connect to Kubernetes cluster:
- By KubeConfig
- Paste as Text
Select the KubeConfig file from any local directory.
Default KubeConfig
Nocalhost will try to load KubeConfig from your local ~/.kube/config by default.
Paste the KubeConfig as a text
Get KubeConfig
You can use the following command to view your KubeConfig and copy it.
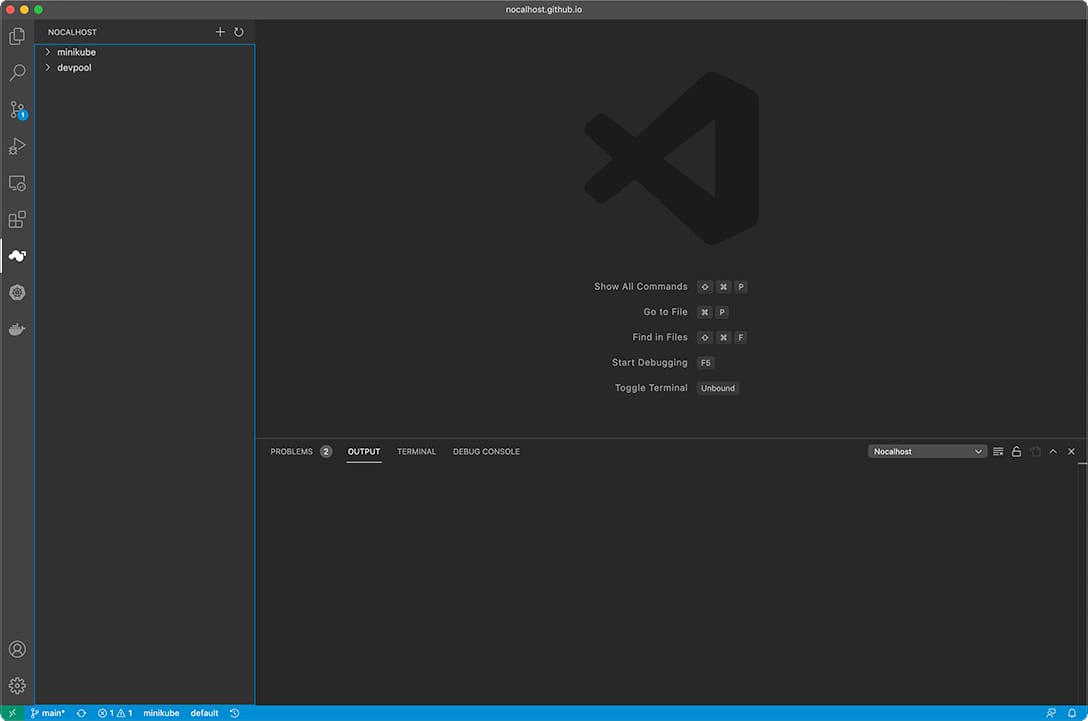
After KubeConfig is successfully loaded, select the context that you want to access, then connect to the cluster.
Nocalhost will automatically show the cluster list.
3. Enter Development Mode#
Application
We are using the bookinfo application as an example here. You can use your own application that already deployed in your Kubernetes clusters, or you can follow Deploy Demo Application to deploy the demo application in your Kubernetes clusters.
Make sure you have successfully deployed workloads within your Kubernetes Cluster, then:
- Expand the workloads tree, find the workload you want to develop
- Click
 to start the
 Development Mode (DevMode) - Specify the source code local directory or you can clone from existing Git repository.
- Nocalhost will open a new VS Code window, and start the
DevModeautomatically.
On premise case
If you are experiencing DevMode in on premise K8s cluster, you need to configure the sidecar image address additionally and push the image to your own repository.
4. Change Code and See Result#
Execute main process in remote Container#
1. Run the following command in the remote terminal to start main process
Main Process
When entering DevMode, the application main process will not automatically start by default in the DevContainer, thus the application will not response any request. You need to manually start the main process before you can access it.
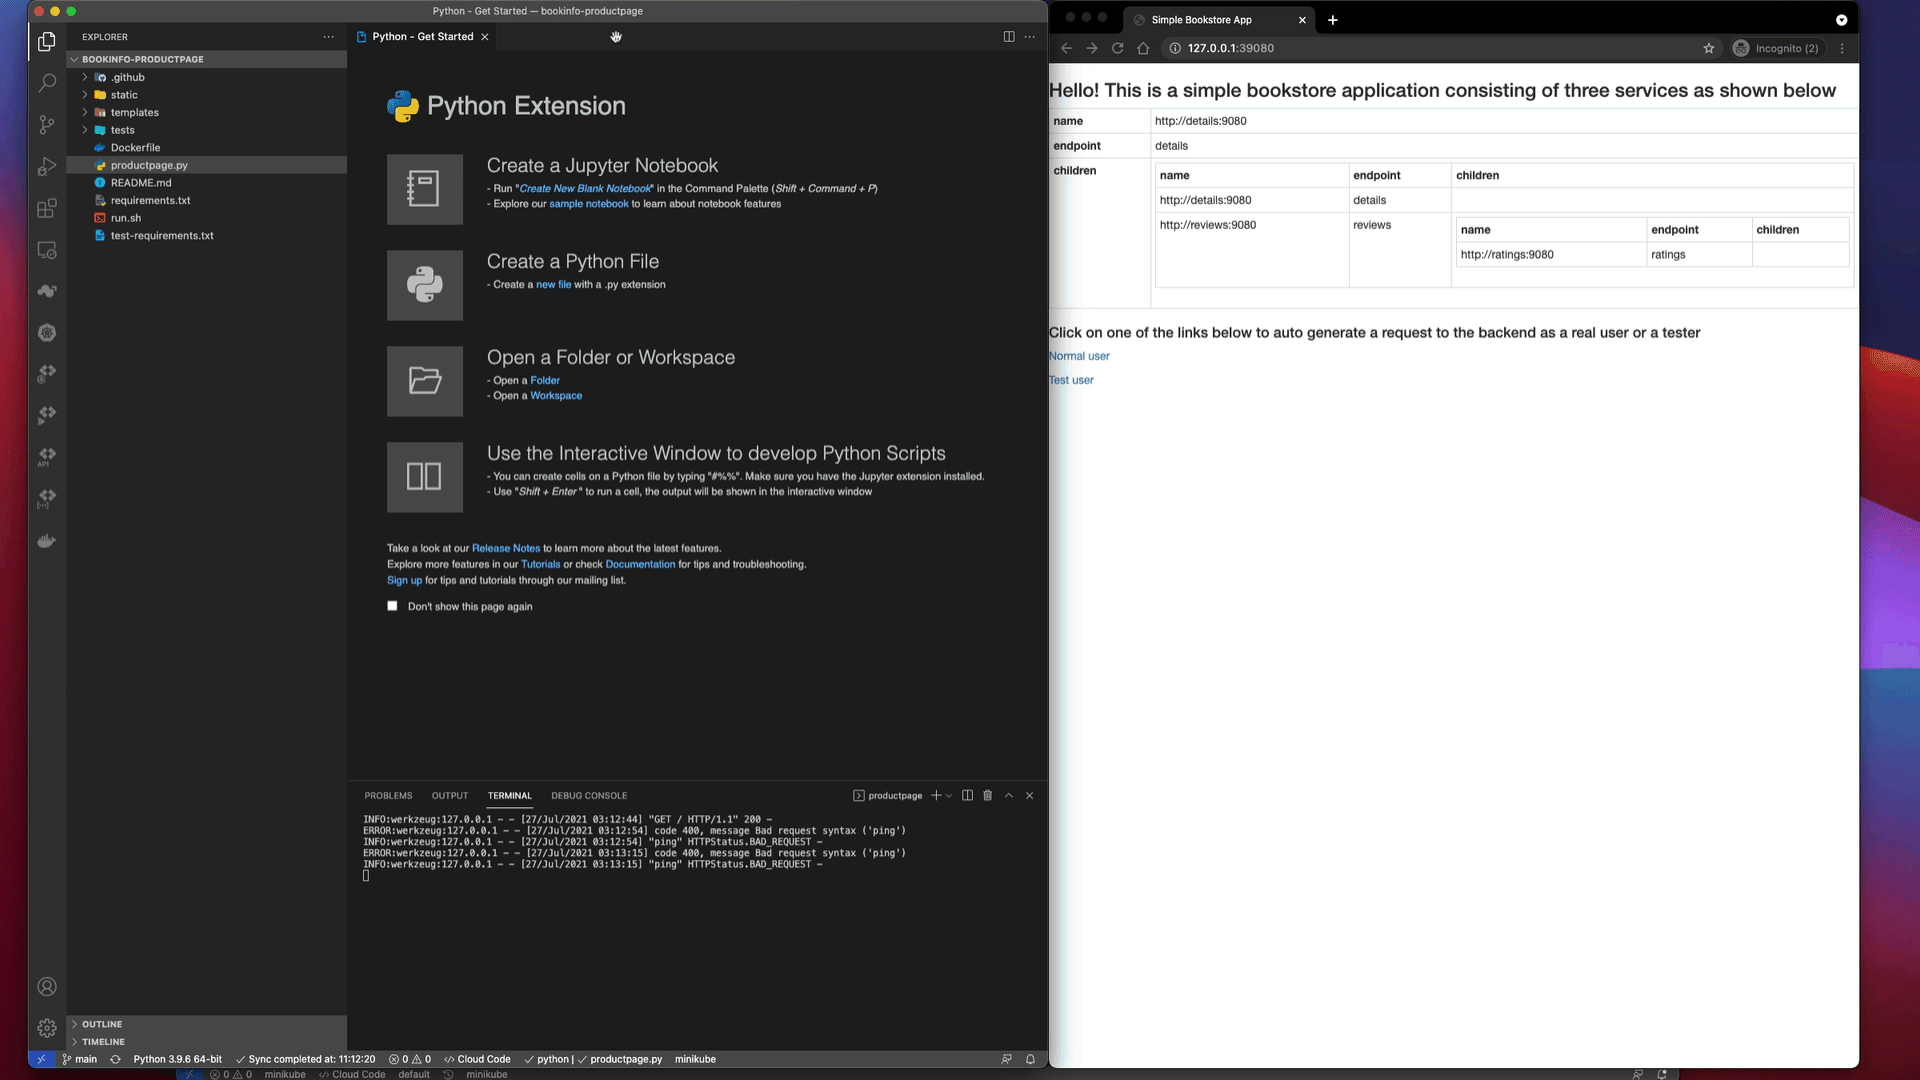
2. View the running result on http://127.0.0.1:39080 in your web browser
Port-Forwarding
In our bookinfo demo, we've already set the port-forward to 39080:9080, which means Nocalhost will automatically forwards data from the local port 39080 to port 9080 on the defined DevContainer.
Change the code#
1. Modify code in productpage.py and see change in web browser. Do not forget to save your change.
2. Refresh the web browser and see the code change
👍 Congratulations! You are all set to go
What's Next?#
- Refer to Nocalhost's Introduction
- Visit our Github Repo
- Join our Slack or scan the code to join our WeChat Group