Quick Deployment of Nocalhost Server in KubeSphere
KubeSphere is an application-centered multi-tenant container platform built on Kubernetes. It provides full stack IT automatic operation and simplifies the workflow of DevOps for enterprises.
Kubesphere provides a user-friendly operation interface, so even the users without relevant experience can easily use it. Moreover, it provides a Helm-based application market, enabling users to easily install various Kubernetes applications through the graphical interface.
This section introduces how to quickly deploy Nocalhost Server in Kubesphere, which provides a platform to assist the R & D team to manage the deployment of Nocalhost applications.
Preliminaries#
Install KubeSphere#
There are two ways to install KubeSphere, install on Linux (see Install KubeSphere on Linux) and install on the existing Kubernetes (see Install KubeSphere on Kubernetes).
Initiate App Store in KubeSphere#
Please see KubeSphere App Store
Install Nocalhost Server#
Install from App Store in KubeSphere 3.2#
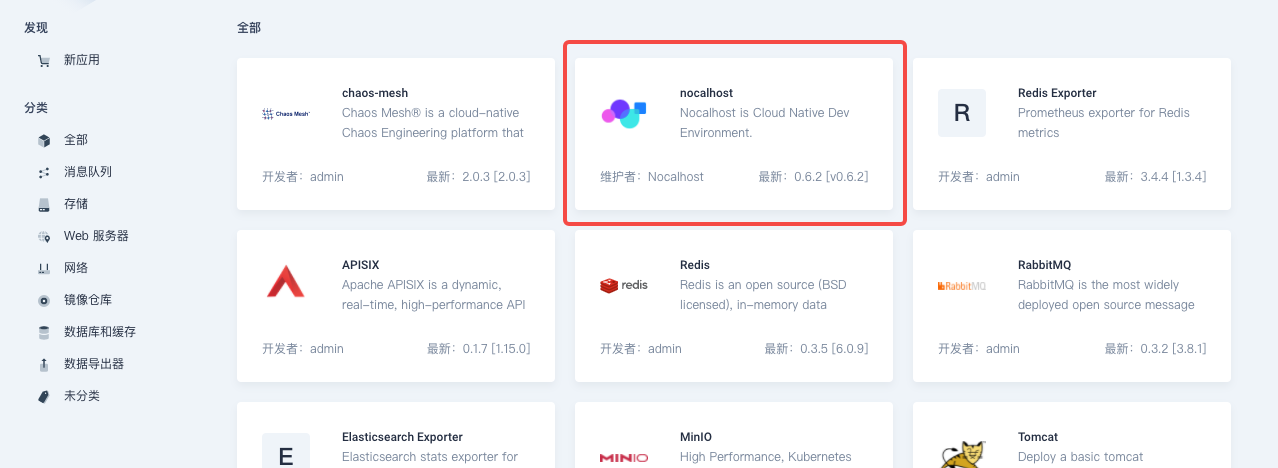
Nocalhost server has been integrated in App store in Kubesphere 3.2, so you can access App Store and deploy the application in the regular way.
Install through App Repository in KubeSphere 3.x#
In KubeSphere 3.x, you can deploy applications through App Repository. The instructions are as follows:
Step 1: Add App Store#
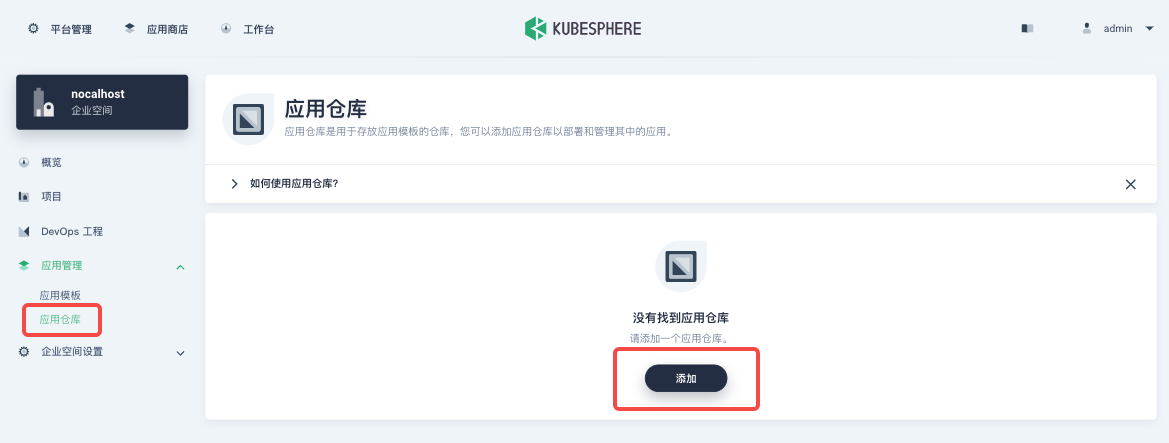
First, log in KubeSphere with the enterprise administration account and enter a enterprise space. In your enterprise space, select「App Repository」under「App Management」, then click 「Add」on the page.
On the pop-up window, set the name of repository to nocalhost and the URL of the app repository to https://nocalhost-helm.pkg.coding.net/nocalhost/nocalhost. Click 「verify」to verify the URL, and then click 「OK」 after successful verification.
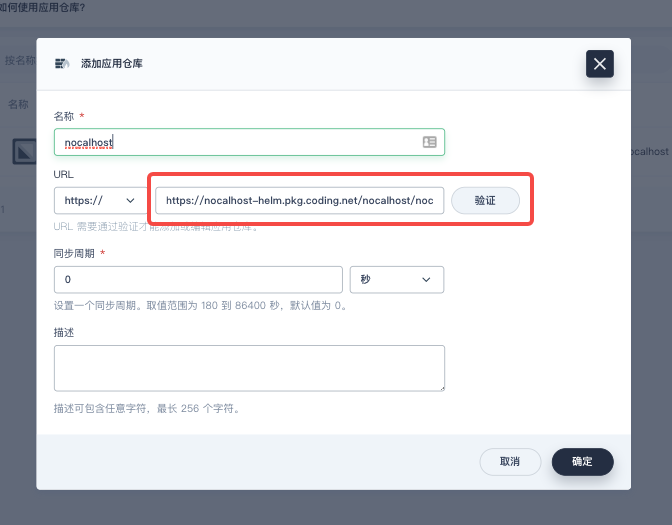
⚠️ Pay attention: The URL must be pasted with the full link including
https://, otherwise the verification will fail.
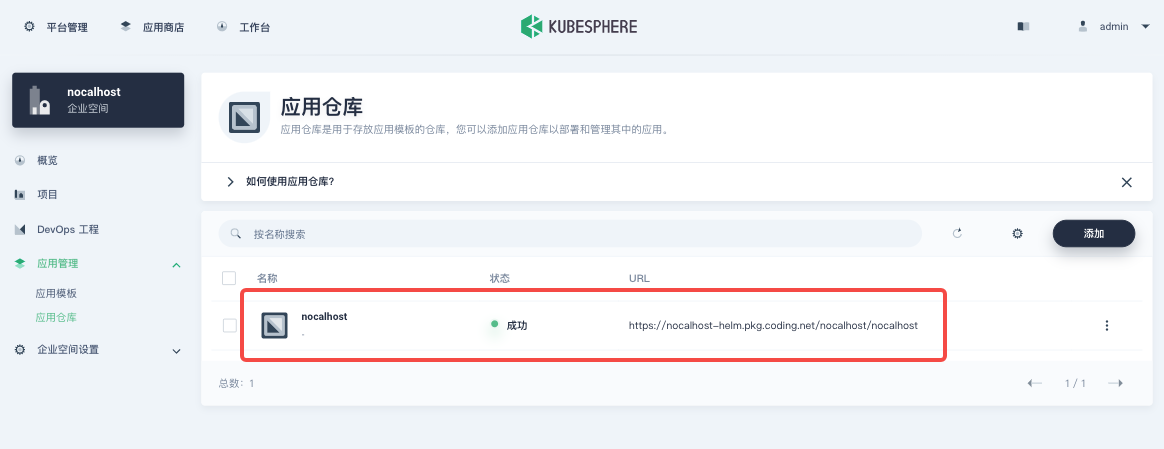
The app repository will be displayed in the list after it has been imported successfully, as shown below.
info
To get more information about adding private repository , please see Import Helm Repository
Step 2: Deploy App from App Templates#
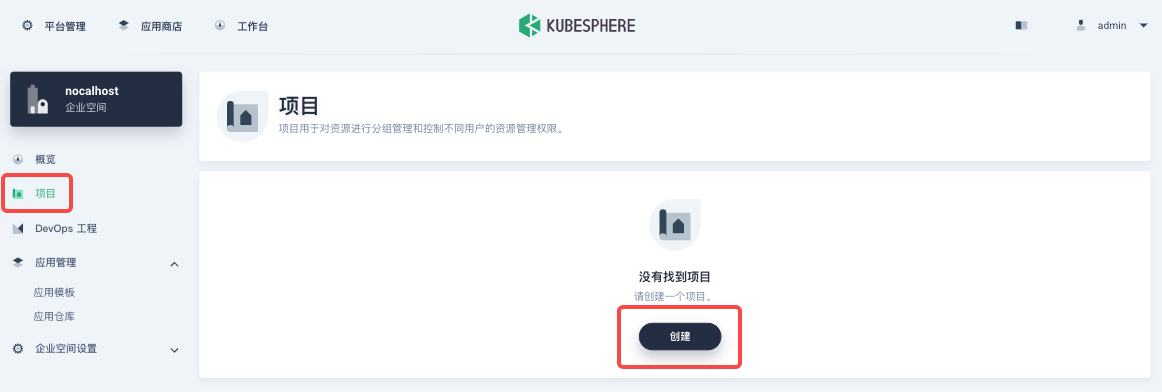
Enter the project in which you want to deploy Nocalhost Server. If no project is available, you can click 「Project」in the left column and click 「Create」to create a new project in the enterprise space.
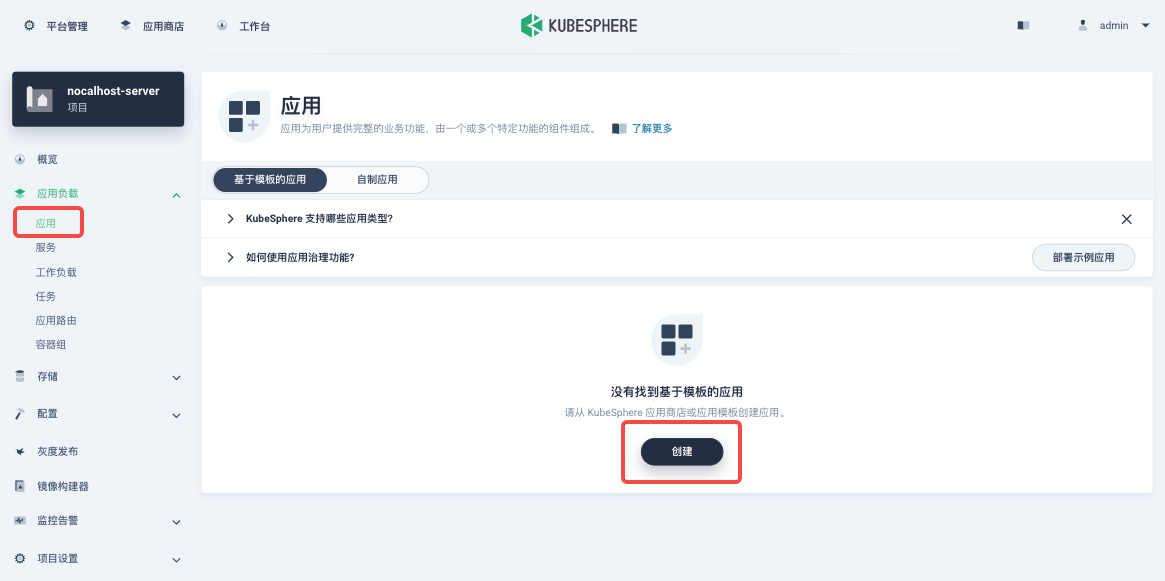
Assume that a project named nocalhost-server has been created. Enter the project page, click 「Application」under 「Application Workload」in the left column. Then you can click 「Create」to create a new application.
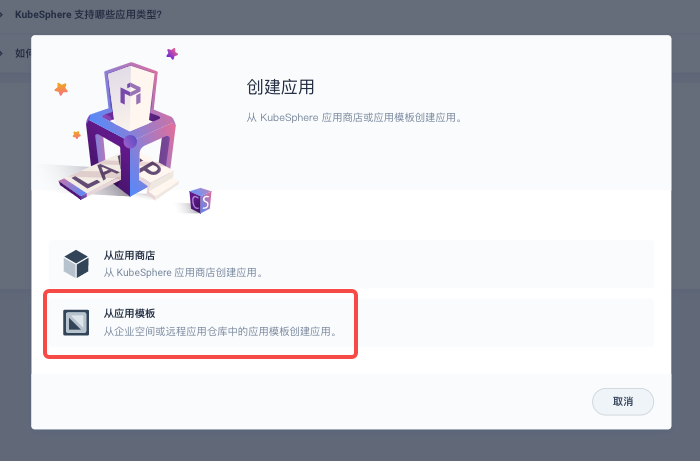
Select 「From app templates」on the pop-up window.
info
- Install from App Store: Select applications that are built-in or uploaded separately in Helm Chart form.
- Install from App Templates: Select applications from private repositories and application pool in enterprise space.
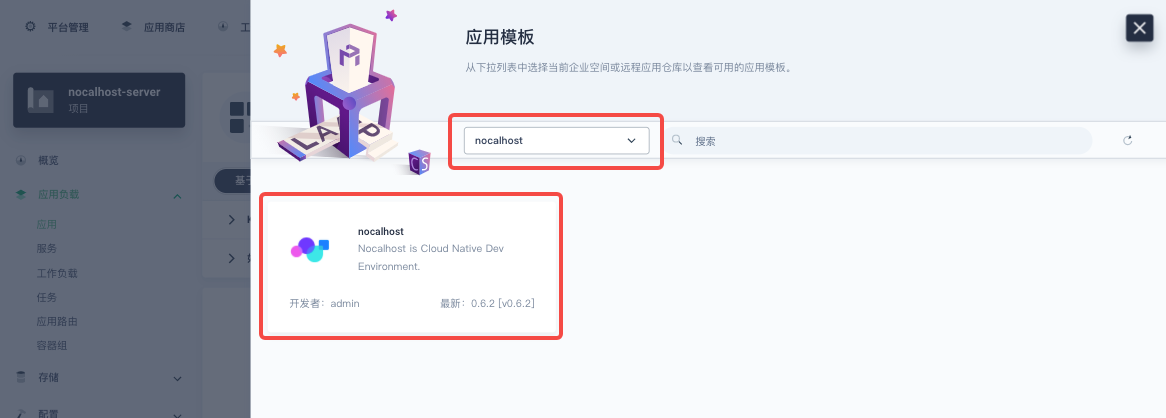
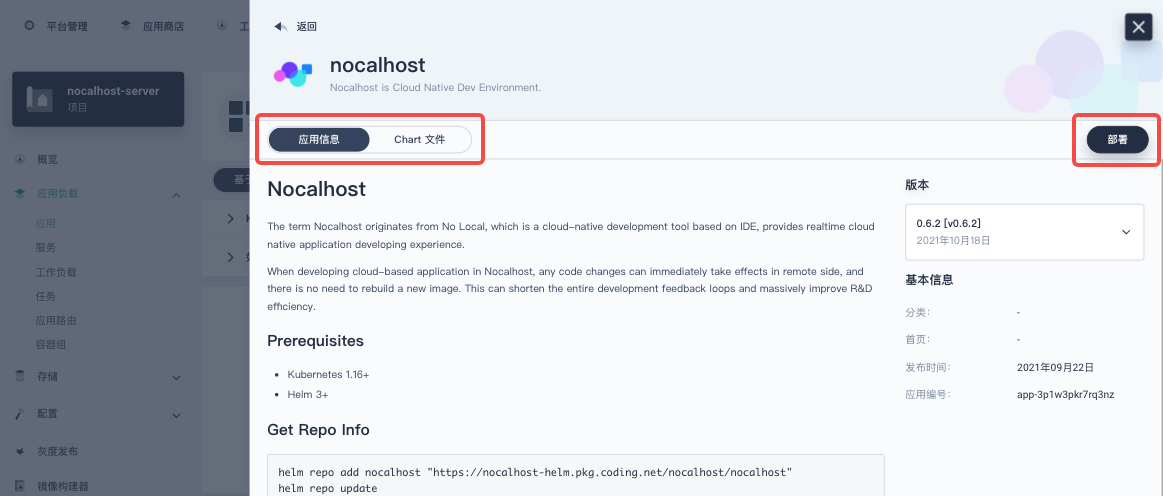
Select the imported private app repository nocalhost from the list, then Nocalhost Server Helm Chart will be shown as below:
Check 「App Information」and「Chart File」, and select a version from the version list. Then click 「Deploy」.
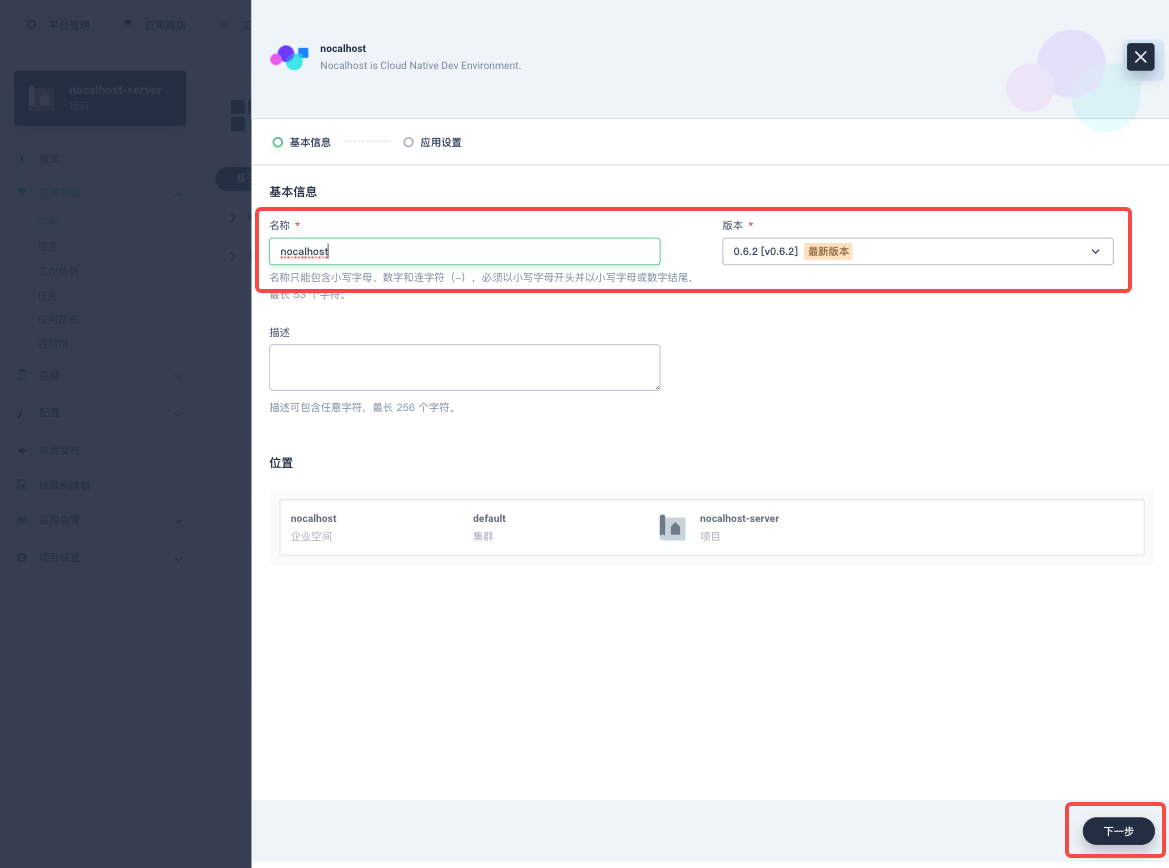
Enter the app 「Name」, then check the app 「Version」and the deployment 「Position」. Click 「Next」
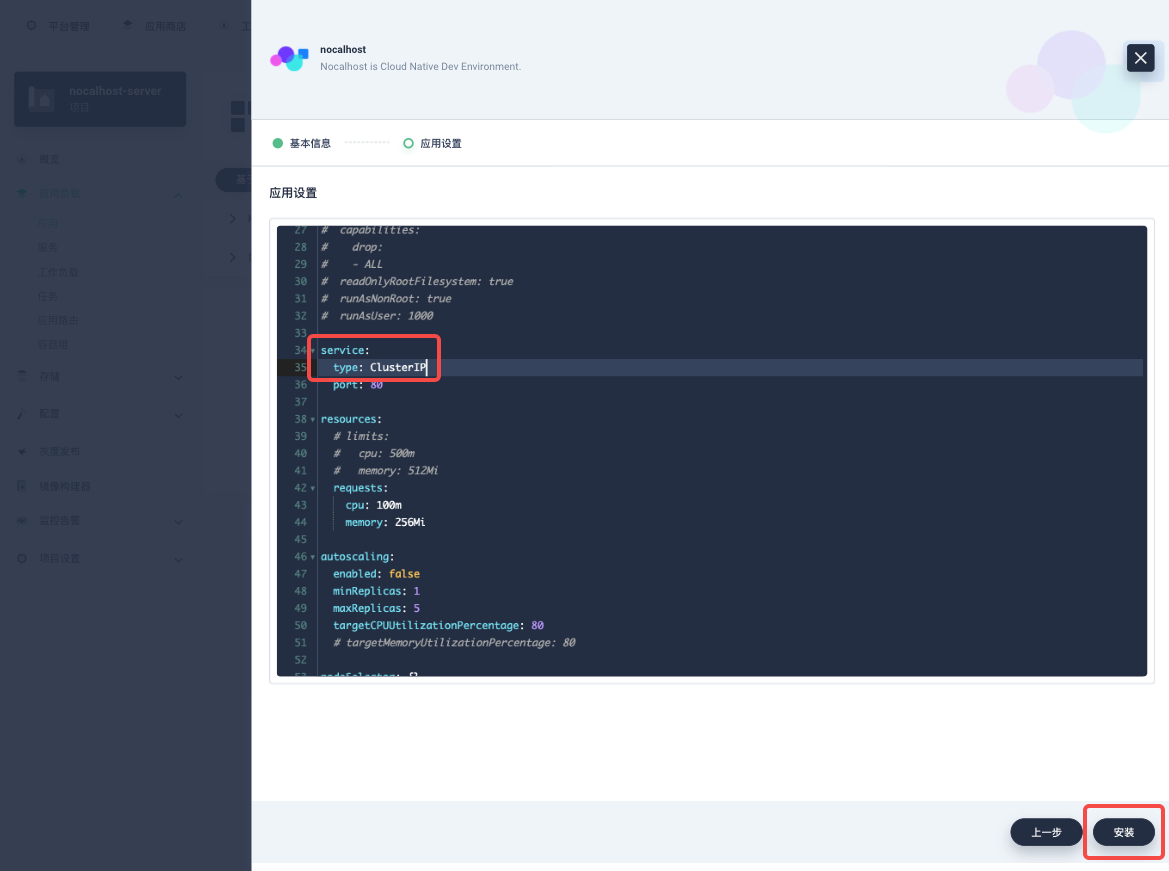
On「App Setting」page, you can edit the list file or just directly click 「Install」. We suggest to set service.type to ClusterIP to ensure the installation will not be affected by Kubernetes network environment. Of course, you can choose NodePort or LoadBalancer service type to expose Nocalhost Server according to your needs (Server sets no restrictions on this).
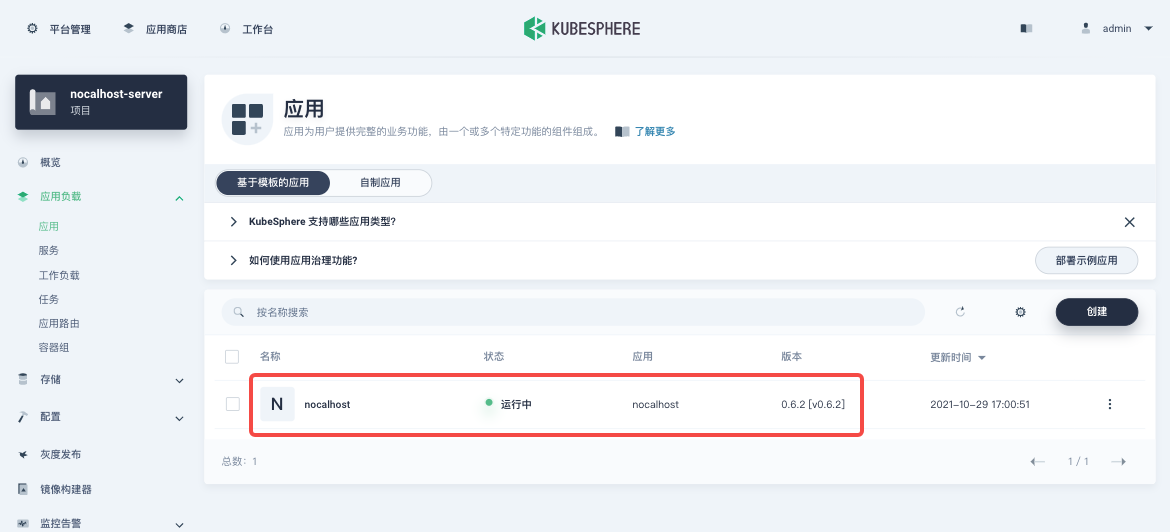
Finally, wait for Nocalhost Server to create and initiate the application. You can see the application status in「Applications」as below (the page may need to be refreshed).
Step 3: Expose Nocalhost Server Service#
Click 「Service」under 「App Workload」in the left column. Select nocalhost-web on the page and select「Edit external access」from the drop-down menu on the right.

Select a proper 「Access method」for the current cloud network environment on the pop-up window and then click 「OK」to apply it.
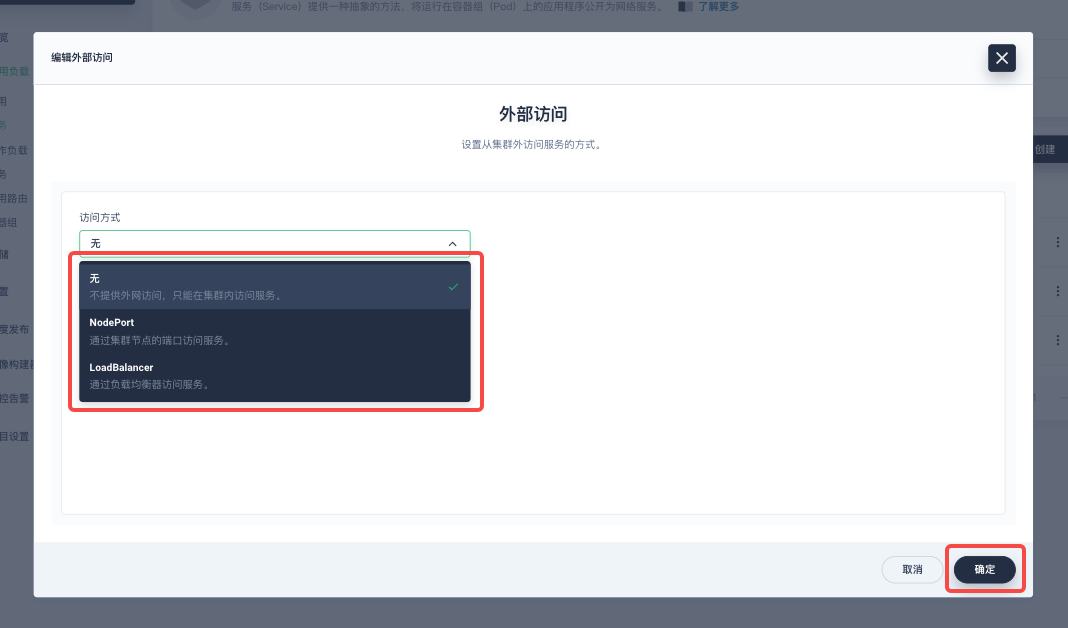
Assume that we keep using ClusterIP access method and will use kubectl port-forward for Nocalhost Server in the following.
⚠️ Pay Attention: Please replace the
nocalhost-serverabove with the Namespace of the Nocahost application you actually deployed.
Using Nocalhost Server#
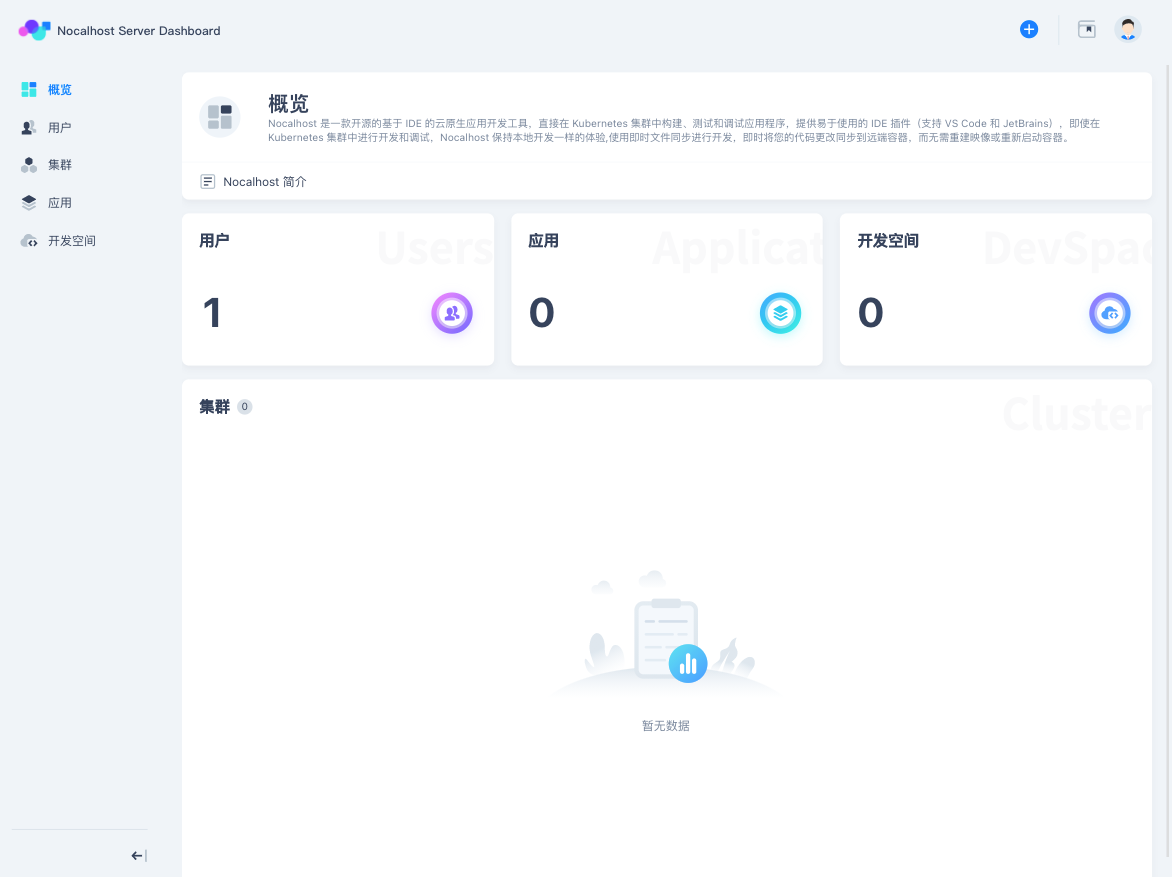
After Port Forward, use
http://localhost:8080to open Nocalhost Server Dashboar. Log in theadmin@admin.comaccount with the password123456.
Create Cluster#
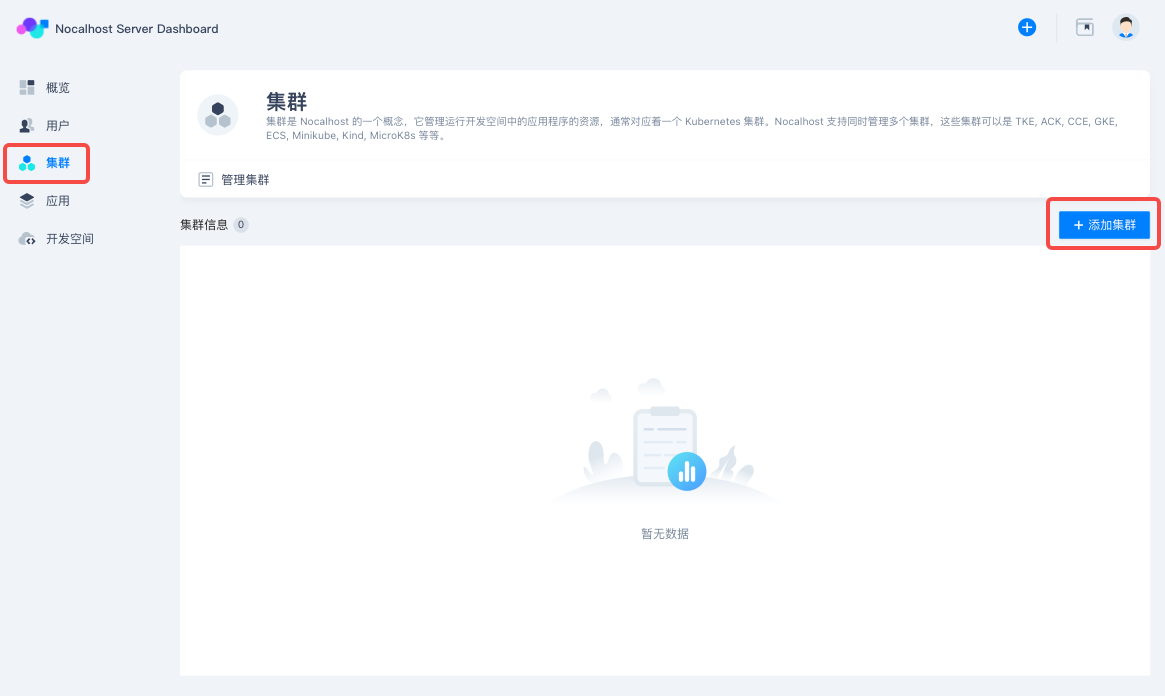
Nocalhost Server is used to assist the team to manage the development environment. Therefore, we need to add the cluster first.
Click 「Cluster」in the left column of Nocalhost Server Dashboard, and then click 「Add cluster」on the page.
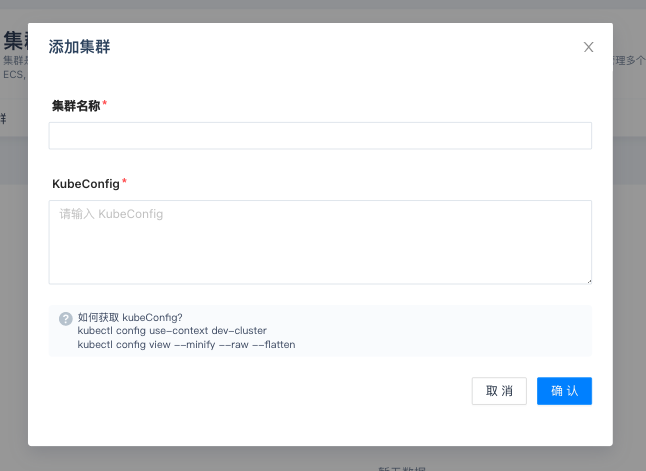
On the pop-up windows, enter 「Cluster Name」and the kubeconfig file which contains **cluster-admin** permmision for kubectl. After that, click 「OK」.
danger
The kubeconfig files that can be imported does not yet support the user proof of type exec. If you want to use this type, it is recommended to generate another ServiceAccount with sufficient permissions and then use its corresponding kubeconfig.
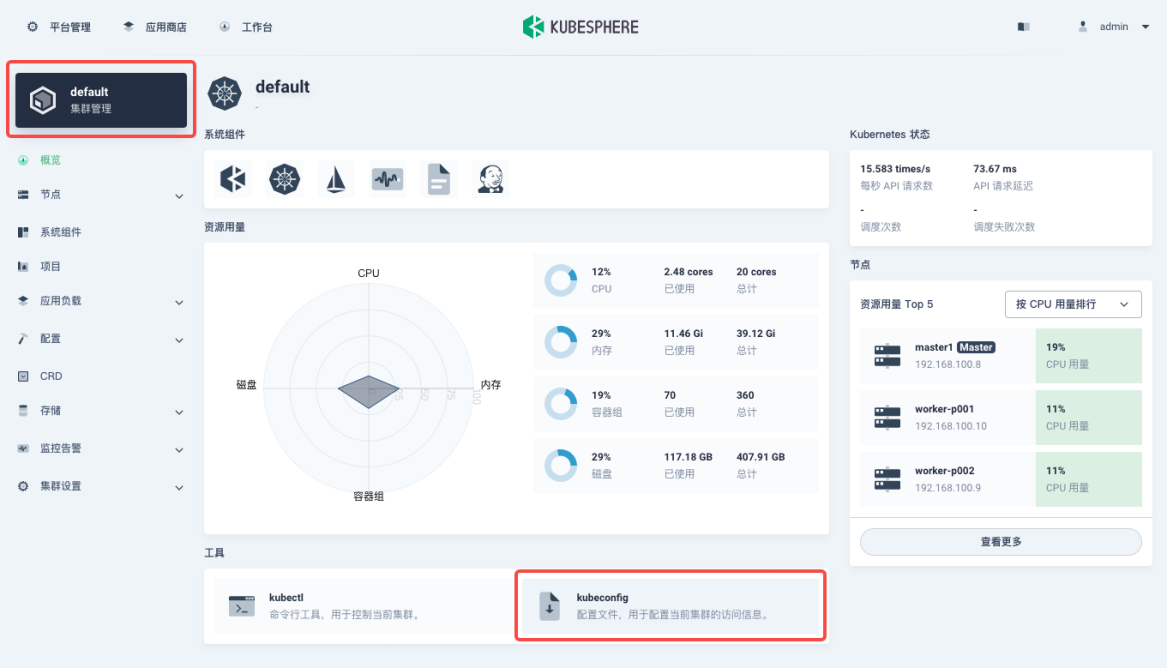
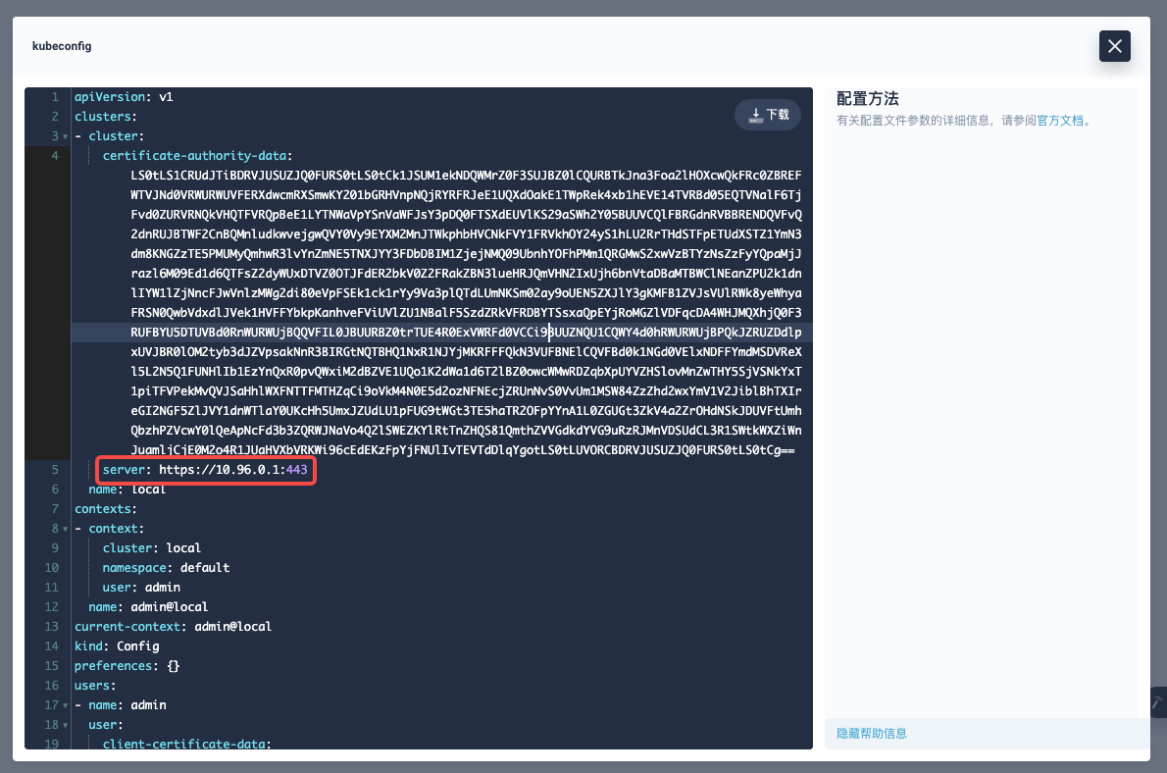
There are many ways to get the target cluster kubeconfig. For example, you can return to KubeSphere and enter the cluster page to get the kubeconfig file. Note that if the application using kubeconfig file is deployed outside the current cluster, you need to modify clusters:cluster:server to the server address of the exposed Kubernetes API.
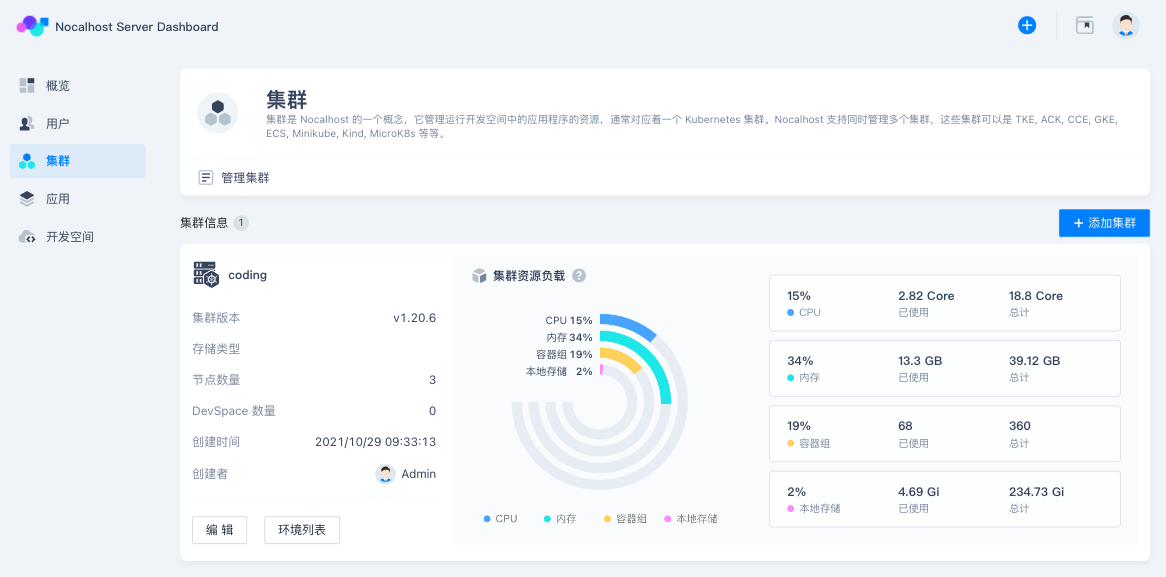
You can see the following cluster information page after it is added successfully.
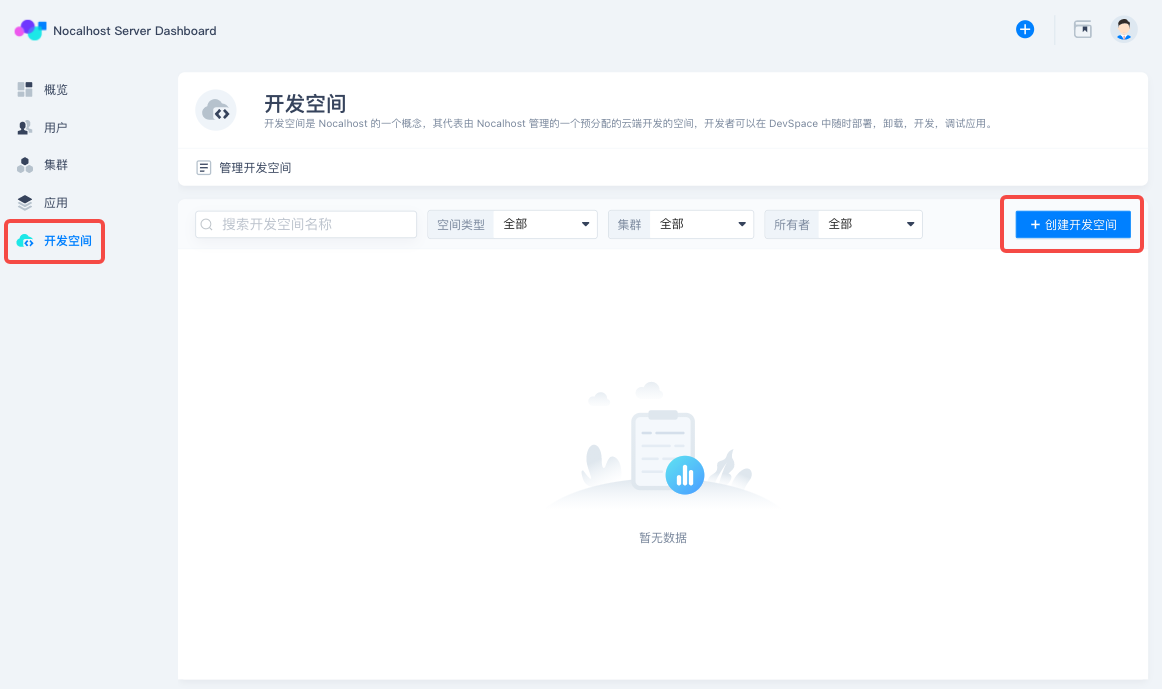
Create DevSpace#
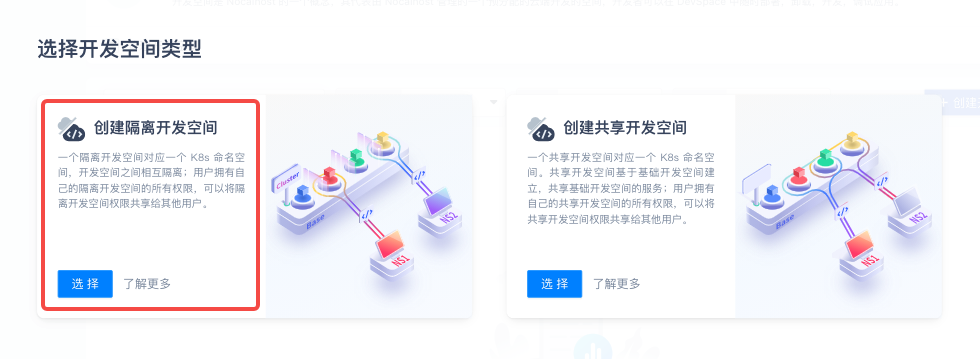
Enter「DevSpace」and click 「Create DevSpace」on the page. Click「Create seperate DevSpace」on the pop-up window.
tip
To get more information about 「MeshSpace」 , please see Manage MeshSpace
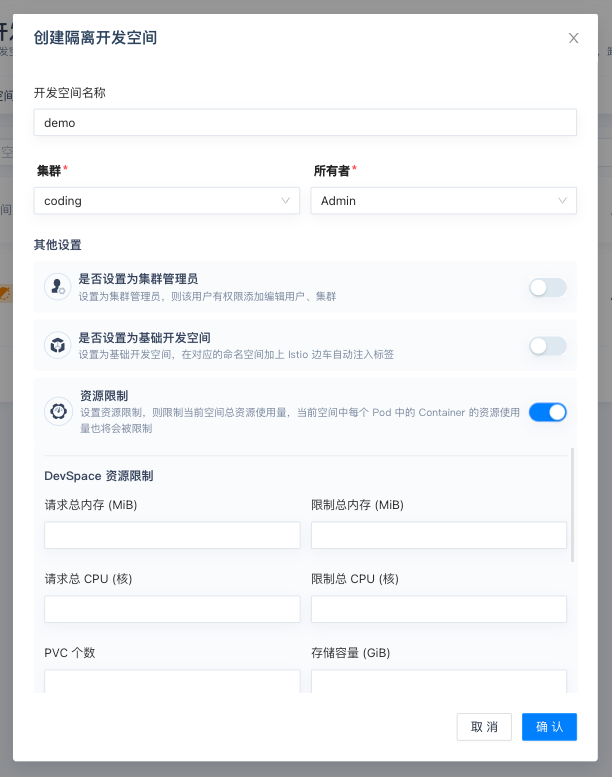
Enter 「DevSpace Name」(here we use demo) on the pop-up window. Select 「Cluster」and「Owner」, then set 「Other Settings」as needed.
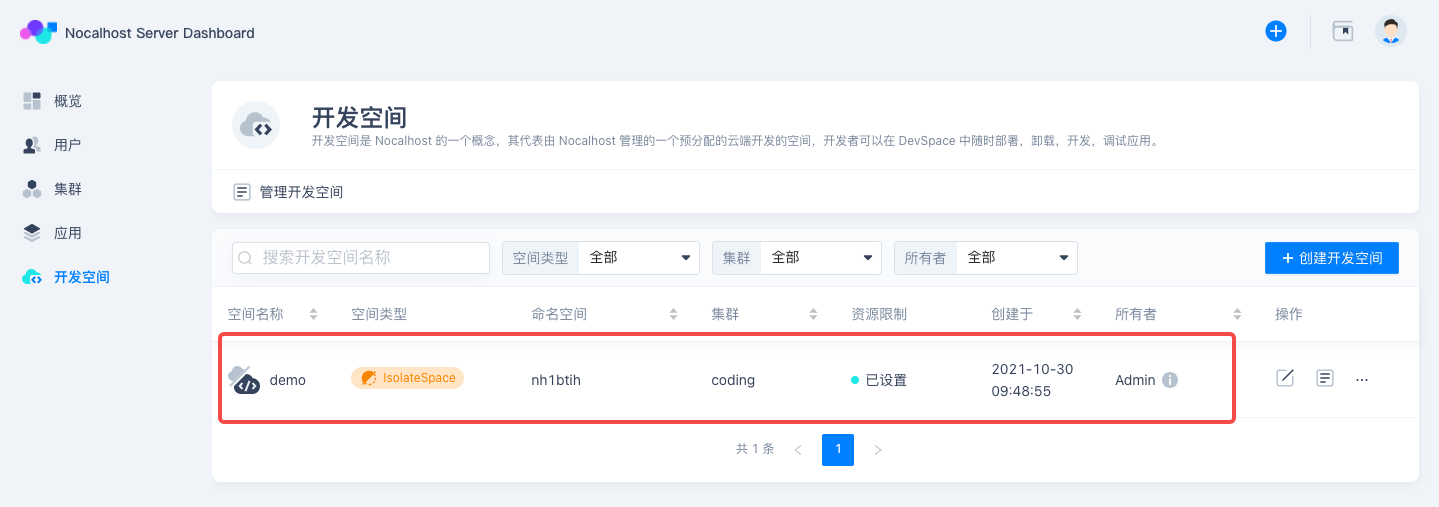
After that, this seperate DevSpace will be displayed on「DevSpace」page as below.
Create bookinfo Demo App#
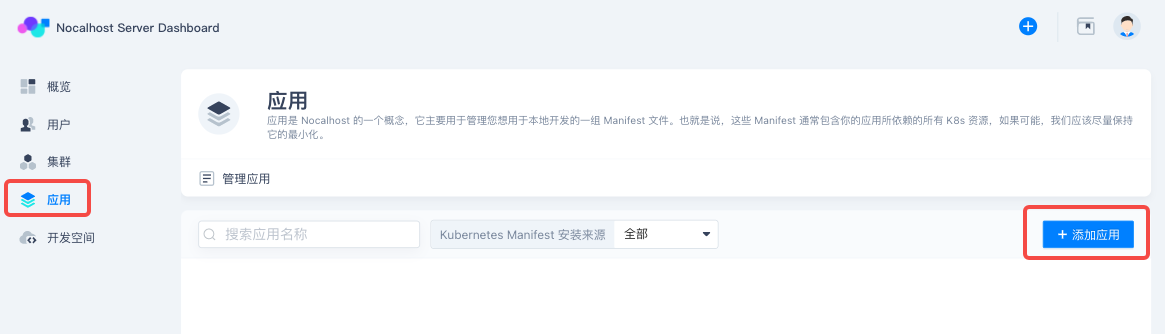
Next step is to create some deployable applications for the team. Enter「App」page and click 「Add App」
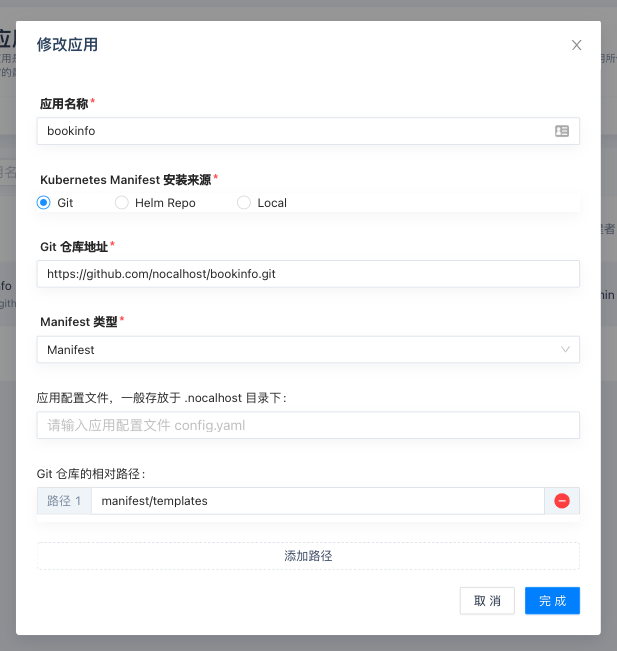
Enter 「App Name」on the pop-up window and fill in other information.
- Select
Gitas 「Installation Source」 - Enter
https://github.com/nocalhost/bookinfo.gitin「Git Repo adress」 - Select
Manifestas 「Manifest Type」 - Leave「App Config File」blank. It will use
config.yamlby default. - Enter
manifest/templatesin「Git Repo relative path」
tip
Please see the complete bookinfo on Github and learn more details about config files.
Create User and Share DevSpace#
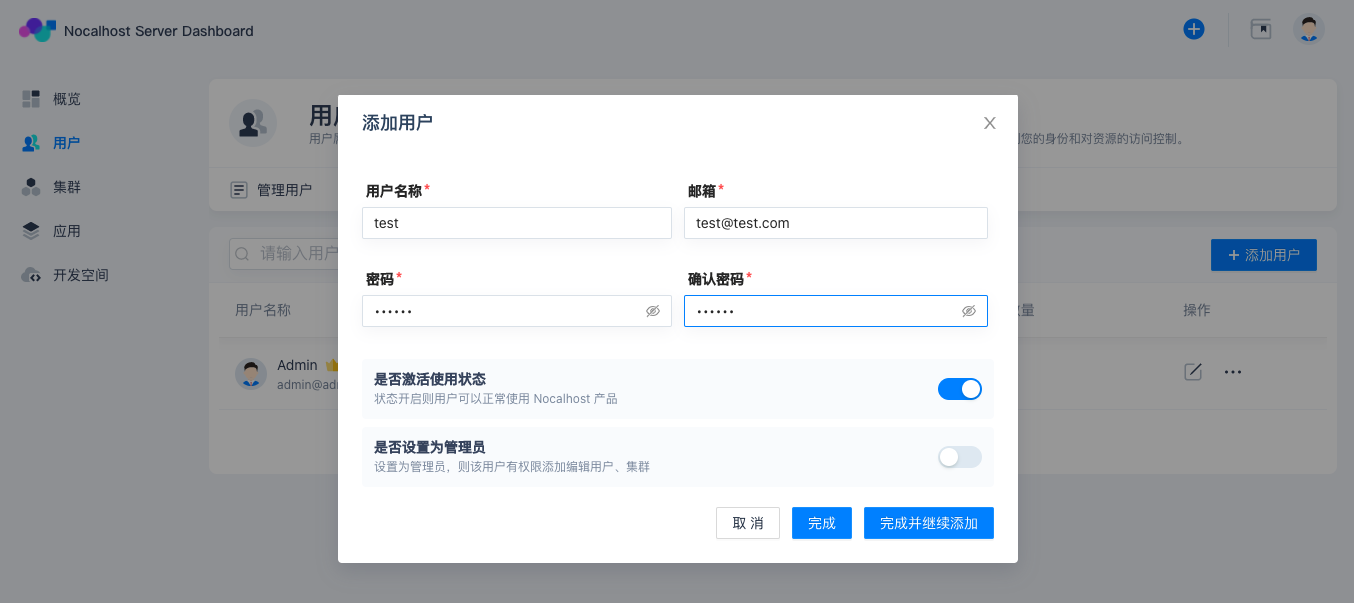
At last, we create a sample user to demonstrate how to share DevSpace. Enter「User」page and click 「Add user」, then fill in the required user information on the pop-up window. Click 「Finish」after that.
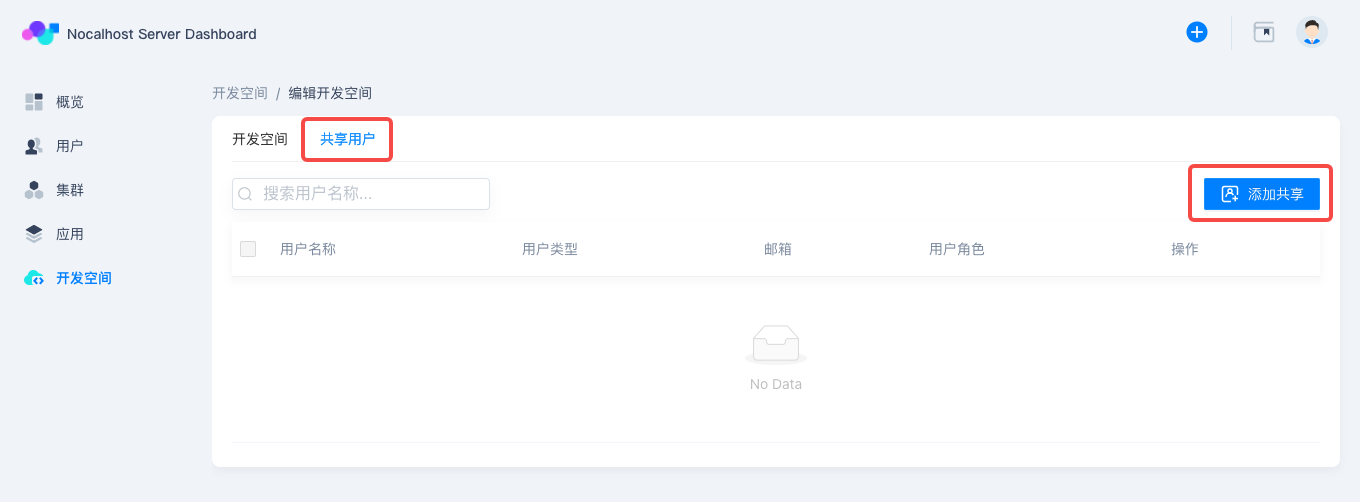
Return to DevSpace and select demo that we just created. Click the brush icon to enter「Shared Users」page in 「Edit DevSpace」, then click 「Add Sharing」
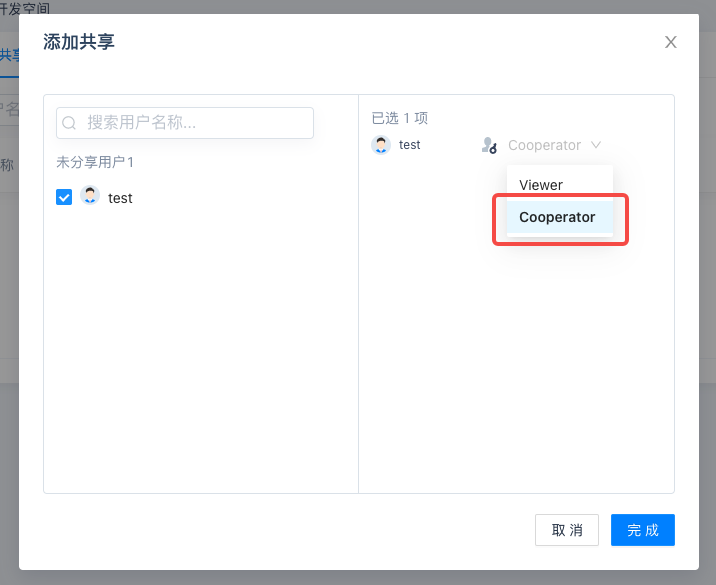
Select users as needed. Note that please select the default Cooperator as permission type, the other Viewer only enables users to view DevSpace.
Now, we have finished configuration on Nocalhost Server Dashboard. We will use the Nocalhost plug-in on IDE to deploy the application in the following part.
Deploy bookinfo#
Here we use VS Code to deploy applications. First, you need to Install Nocalhost Plug-In in VS Code or Install Nocalhost Pulg-In in JetBrains。
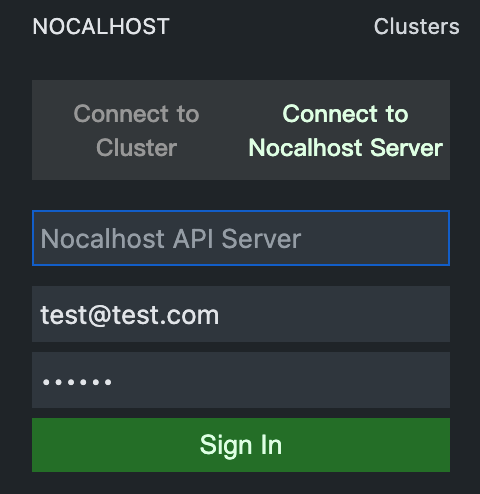
Open the plug-in dashboard in VS Code and click + to build the connection of clusters. Enter the address of Nocalhost Server and log in with the test user account we created before.
If everything goes well, you will find the demo(nh1btih) we previously created in Nocalhost Server Dashboard.
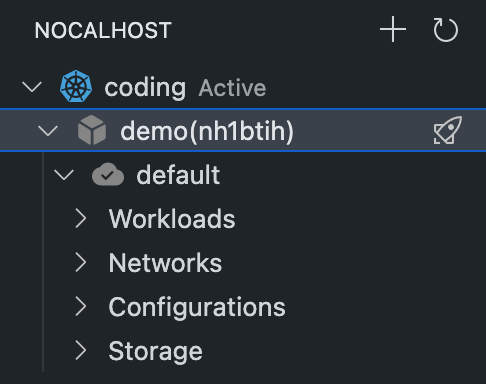
Click the rocket icon on the right side of demo, and the application list will be loaded at the top of the VS Code. You can find the bookinfo that we added before.

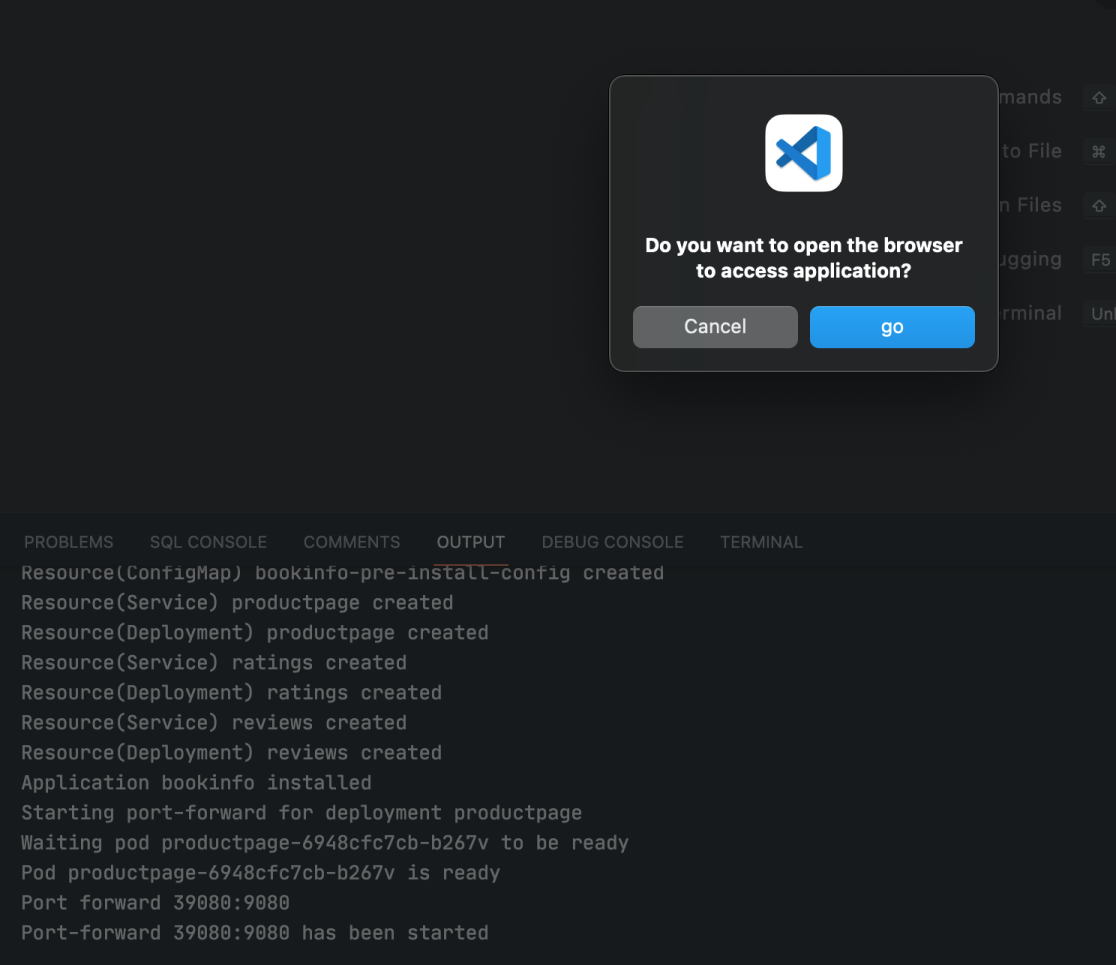
Select this app, then the deployment of Nocalhost application in the demo space will be initated (you can just select the default branch to install). You can see the following log and pop-up window after installation.
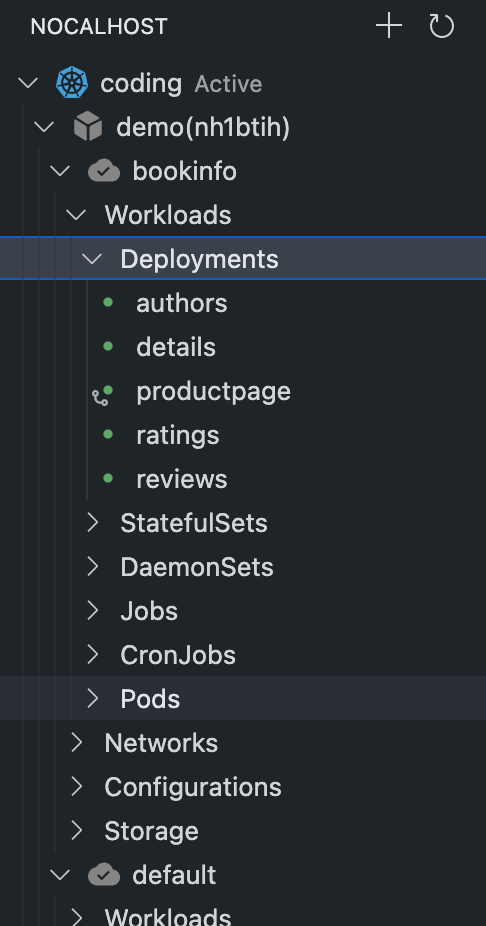
At the same time, you can open Workload to see the specific deployment information on Nocalhost plug-in dashboard.
From now on, you can enter DevMode in regular way and experience a more convenient cloud native microservice development process!